The Upload Template option allows you to import DOCX files (Documents created through Microsoft Word). Once imported, these documents can then be used as a system template.
Documents can be imported by any of the document management screens (Consent forms, Code templates, Client documents, Treatment documents, etc.)
The process of creating and producing these documents is detailed below.
Incorporating merge fields into your document saves time by auto-populating your document with data from the system. For example, rather than typing the clients address onto the document each time, you can you merge fields which extract the client’s address from the database onto the document.
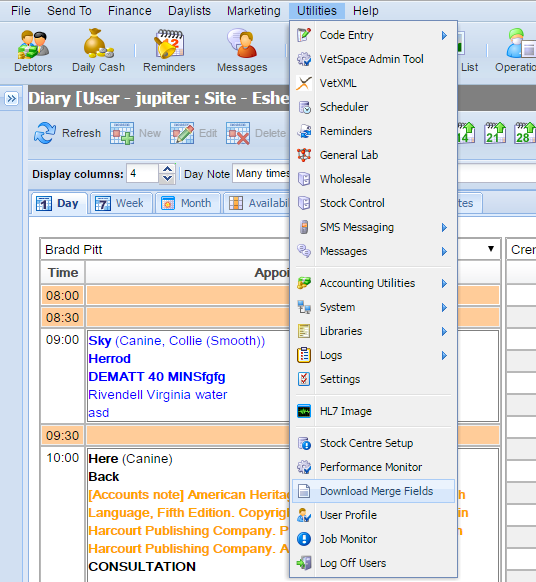
These merge fields can be downloaded in Merlin via Utilities > Download Merge Fields.
Once you have selected this option you will see the below downloaded folder at the bottom of your screen.
Double click the file to open. You can unzip the file by right clicking on it and selecting ‘unzip’.
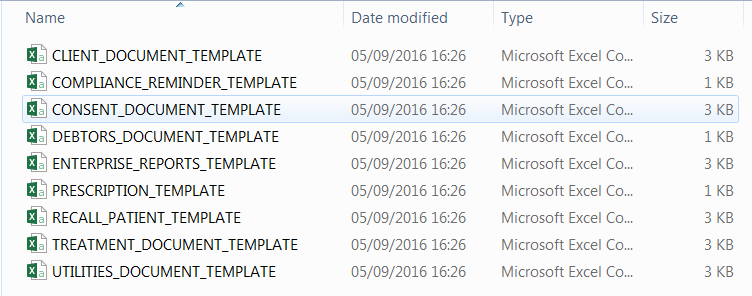
This file contains a list of all available merge fields depending on which document you are creating.
Once the Merge Fields have been downloaded, they can be accessed in Microsoft Word via the process detailed below:
1) Open a document in Word.
2) Go to the 'Mailings' tab.
3) Select 'Select Recipients' and 'Use Existing List'.
4) Navigate to the folder containing the CSV files and select the CSV file containing the required merge fields.
5) Select 'Open'.
You can now insert a merge field by clicking 'Insert Merge Field' and selecting the required one from the list.
Once the merge fields have been imported, the merge fields can be accessed in Microsoft word via the Mailings tab and selecting Insert Merge Fields.
Your list of imported merge fields will display here.
Merge Fields allow you to personalise the content of your documents. For example, rather than the generic letter template:
"Dear Sir/Madam,
Please provide consent for your animal..."
You are able to personalise letters as merge fields extract relevant data from Merlin. For example :
"Dear Mrs Smith
Please provide consent for your Golden Retriever Rupert"
Quick Part Prompts can be utilised to populate fields within the document using Merlin rather than having to open and edit the document template prior to printing.
These prompts can be configured in Microsoft Word via the process below:
1) Select the 'Insert' Tab.
2) Select the 'Quick Parts' button.
3) Select the Merge Field Category.
4) Select 'Merge Field' from the left hand menu.
5) Type "prompt:" in the text field provided along with the required prompt.
For example, if the document requires "Yes or No" to be inserted into the document, the prompt would be "prompt:Yes or No?"
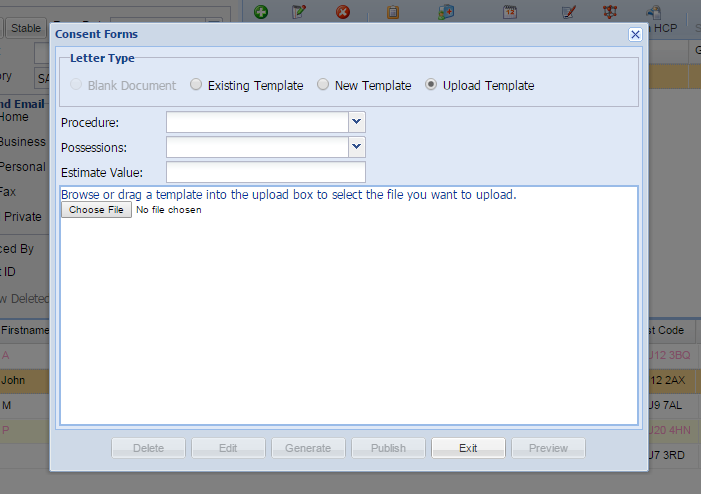
Once your document has been created, it can be uploaded to Merlin from the document management window (For consent in this example).
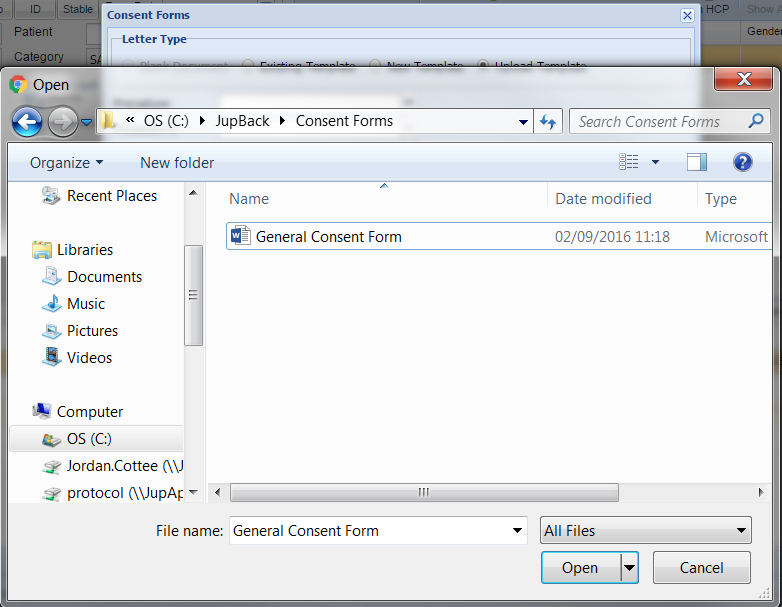
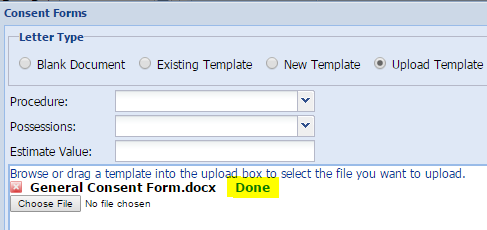
1) Select the ‘Upload Template’ option and then select ‘Choose File’.
2) Browse to your created file and select ‘Open’.
3) The document will then import into the system. Once imported, the progress bar will display as ‘Done’.
4) Once imported, select ‘Existing Template’. The document you have imported will now show here.

5) You can edit this document if you wish and when you are ready to use the document, select ‘Publish’.
Once uploaded and published, the documents can be generated through the system.
Copyright © 2013-2021
MWI Animal Health, an AmerisourceBergen Company