 Registering a Client
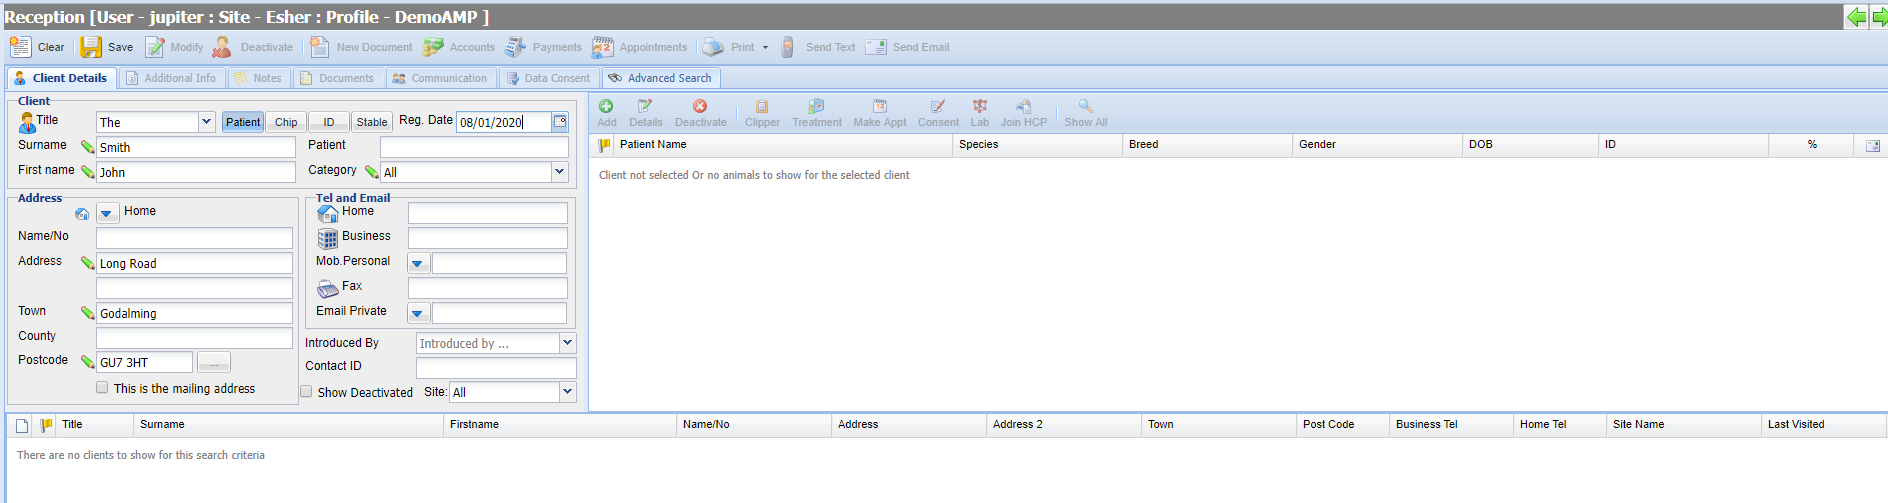
Client Registration is carried out on the Reception Screen using the same fields as those used to search for existing clients.
While entering the client details, the system will automatically search for existing clients with the same details and display these in the lower box.
1) Navigate to the Reception screen and select the 'Clear' button (if screen is currently populated).
2) Enter the Client's details into the available fields.
3) To begin entering client information, select a 'Title' for the client from the drop down menu.
4) Fill in all the required information such as Name, Addresses, Contact Details and Client Category information.
Note: Any fields with a green pencil symbol (![]() ) are mandatory and must be completed prior to saving.
) are mandatory and must be completed prior to saving.
Note:
Tip: To move to the next text field, you may select with the mouse or use either the tab button or the return/enter key on the keyboard.
5) Verify the information is correct and select the 'Save' button.
Note: The system checks to ensure you do not register the same client more than once using the below methods:
a) As you enter the client's details the system finds any clients with matching details. If you see the client you require, stop and select the client from the result list by selecting it.
b) After selecting 'Save', Merlin runs a final check based on Surname, House Name/Number, the First Address Line, Postcode and email address. If any matching clients exist, you are alerted to this and asked if you wish to proceed.
6) Once the client has been saved you will be navigated to the Data Consent screen.
The next step is to register the Client's Data Consent/Communication Preferences. For information on how to do this, see: Client Data Consent
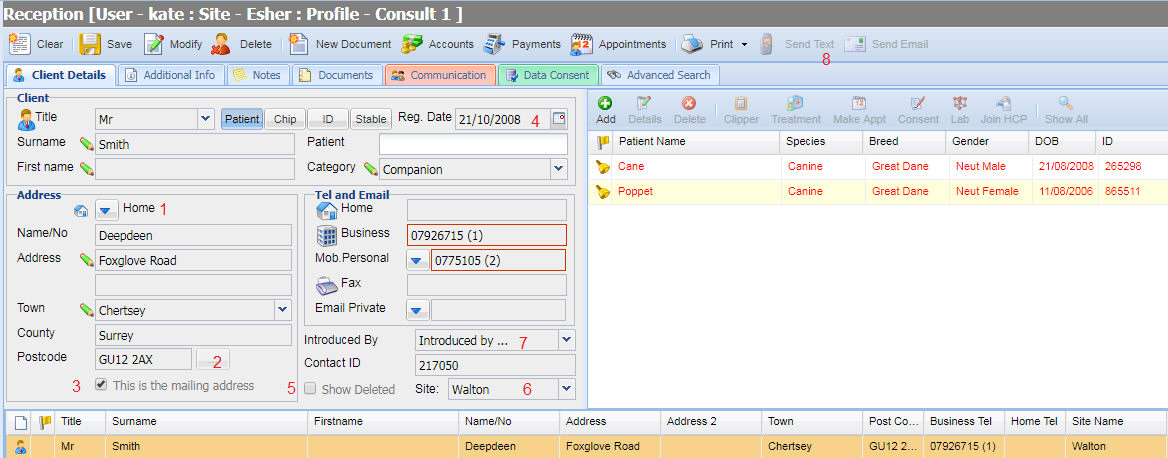
Below is an illustration to highlight features of the Reception Screen.
| Field | Item | Description / Function |
| Address Selector | 1 |
It is possible to store up to three addresses per client. Before entering an address, select the type of address being stored. Options available are 'Home', "'Business 1' and 'Business 2'.
|
| Postcode Lookup | 2 |
The Postcode lookup button allows you to search for an address by code.
|
| Mailing Address Selector | 3 |
Of the three possible addresses which can be stored, one of these must be identified as the primary mailing address. Only one may be selected as such and by default, this is the home address. Call up the address to be set as the primary address and select 'This is the mailing address' and then save.
|
| Registration Date | 4 |
The Registration Date is the date that the client first registered with the practice. By default this is the date when you enter the client's details but you can set this to any required date if you are re-registering an existing client.
|
| Show Deactivated | 5 |
To view deactivated clients when searching, check the box 'Show Deactivated'.
|
| Site Selector | 6 |
When searching for a client, the 'Site' drop-down will default to 'All' to ensure that you are able to find any client registered with the practice group. When adding a new client, the system will automatically select the site that you are logged in as, this will register them as a client of this site.
|
| Introduced By | 7 |
Useful as a marketing tool. Select a method of introduction from the drop down menu.
|
| Send Text/Email | 8 |
The 'Send text' button allows you to send an SMS to the clients saved mobile number or 'Send Email' can be used to send an email to the saved email address.
|
Copyright © 2013-2021
MWI Animal Health, an AmerisourceBergen Company